 |
| The look I was aiming for |
Whilst scrolling through Pinterest in a fit of stress and worry I came across two different blog posts by ladyannabelle-of-didmarton and couturemayah were they demonstrated how to turn an ordinary pair of high heels into 18th century style shoes! I was saved! I gathered together shoes, epoxy putty and fabric glue and got to work...
What I eventually came up was was a combination of both blog posts as well as my own trial and error.
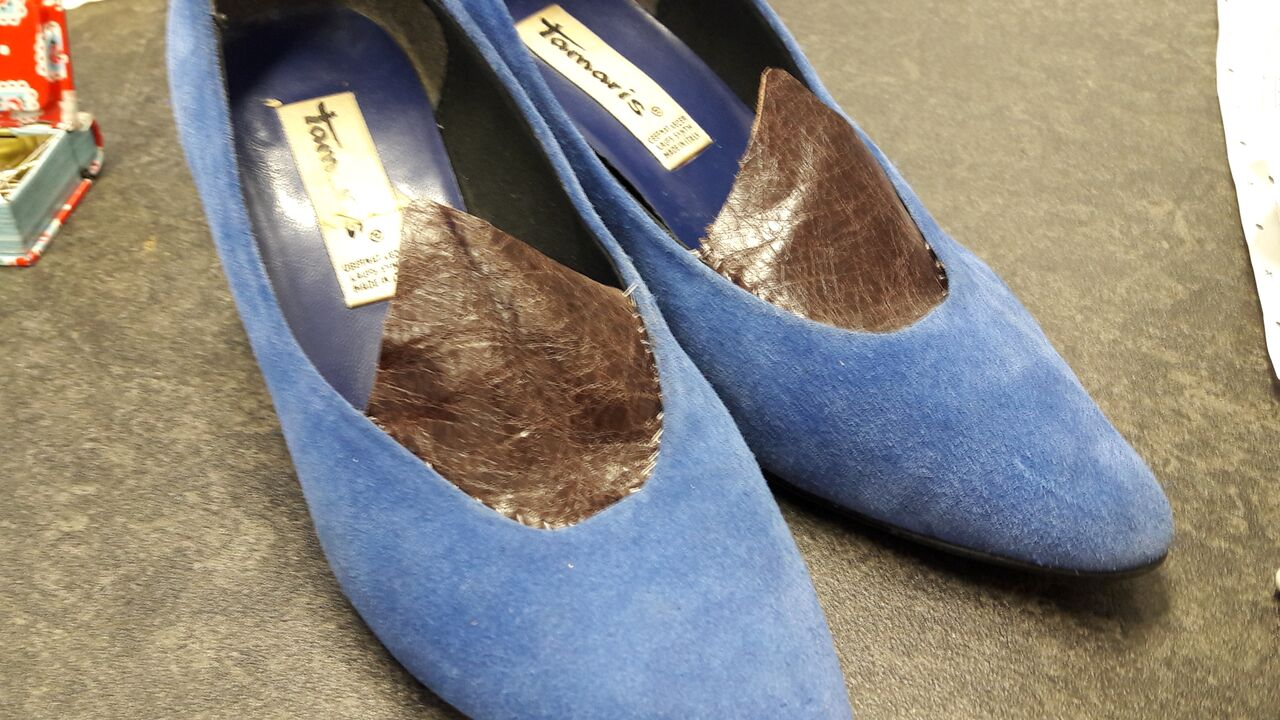
Probably the most difficult part of this project was finding a pair of shoes to fit my model, as I mentioned previously she has quite large feet so there were no cheap pairs in any of the local Charity shops that would fit her and all the high street shops had decided that tall, chunky heels were the only thing anyone could possibly want to buy this year. I gave up and ordered a pair on Amazon...no sooner had these arrived that I found a pair at a clothes swap that cost me £2.50.


The fabric was stripped off the heels of the shoes in order for the epoxy putty to stick properly. The plastic end of the heels were also removed and kept.

I used these two shoes from The Russian Shoe museum as my main sources of inspiration for the final shape of the shoe.


Using these references as a guide the left shoe was covered in calico and patterns drafted for the toes, straps and tongue.


Milliput Epoxy Putty was used to shape the heels (other brands of epoxy putty are available). I found mine in my local department store in the plastic modelling section. Using the putty was really easy, a bit like playing with Plasticine.

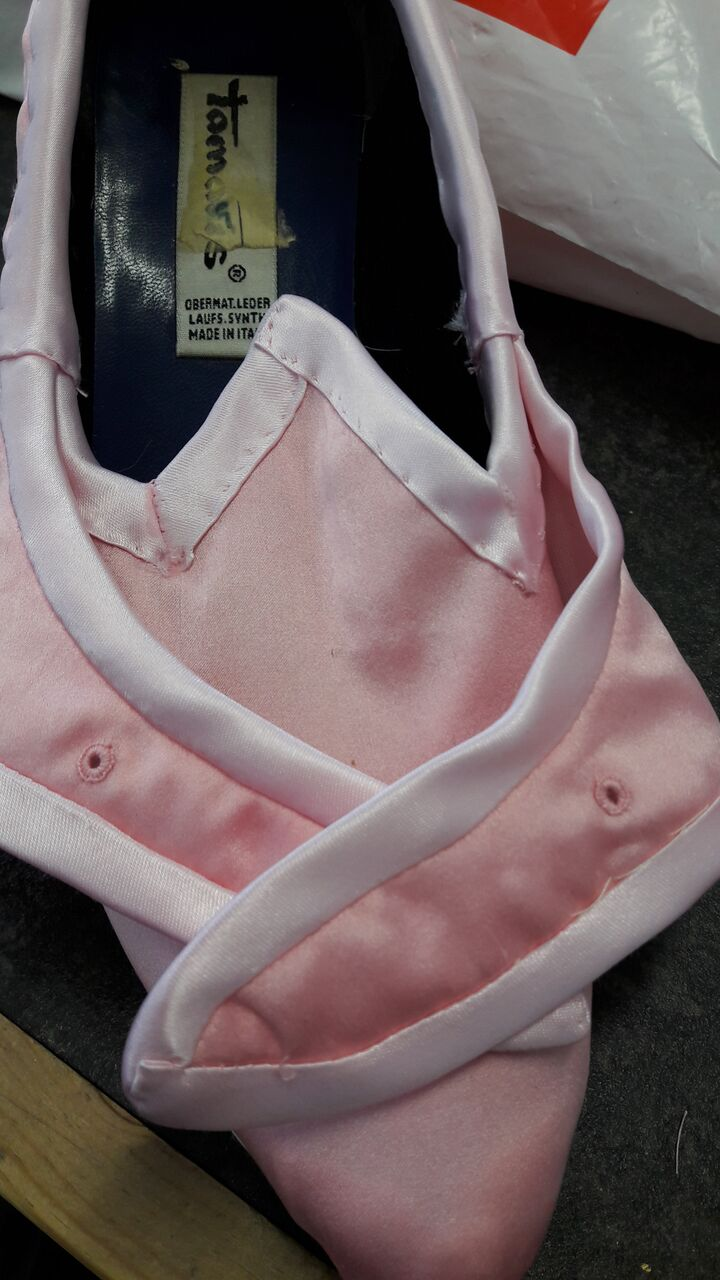
In order to stop the original colour of the shoes from showing through the silk I cut out interlinings from pink polycotton first.

A pattern was drafted for the heel covering

The heel coverings were cut from linen and backed with cotton. The strap linings were also cut from linen and tacked to the strap pieces. The heel covering was then constructed and glued to the shoe.

The toe covering of the shoe was then glued around the sole turning the seam allowance under. Where the toe covering met the heel covering they were stitched together.

The straps were bound with bias binding and stitched to the heel and toe coverings

The tongue and opening of the shoe were bound using a combination of fabric glue and hand stitching.

Holes were pierced for the buckles using an awl and the hole buttonhole stitched with a double length of sewing thread.
I had the buckles in my stash, salvaged from an old pair of boots.

After that I added a Suffolk puff to each of the toes using scraps of blue/green taffeta. I'm not sure how accurate Suffolk puffs are for this time period, but they looked cute and took less time to make than a gathered frill would have.

All in all I really like these shoes! They were very quick to make (took just over a weekend) and the biggest expense was the epoxy putty at only £3.00. All together these shoes cost just over £11.00 to make which was a great saving on my budget.
Part nine of Project: Polonaise (the hat) should be up soon!
(Also sorry for some of the photos formatting oddly, they didn't want to behave!)


No comments:
Post a Comment