
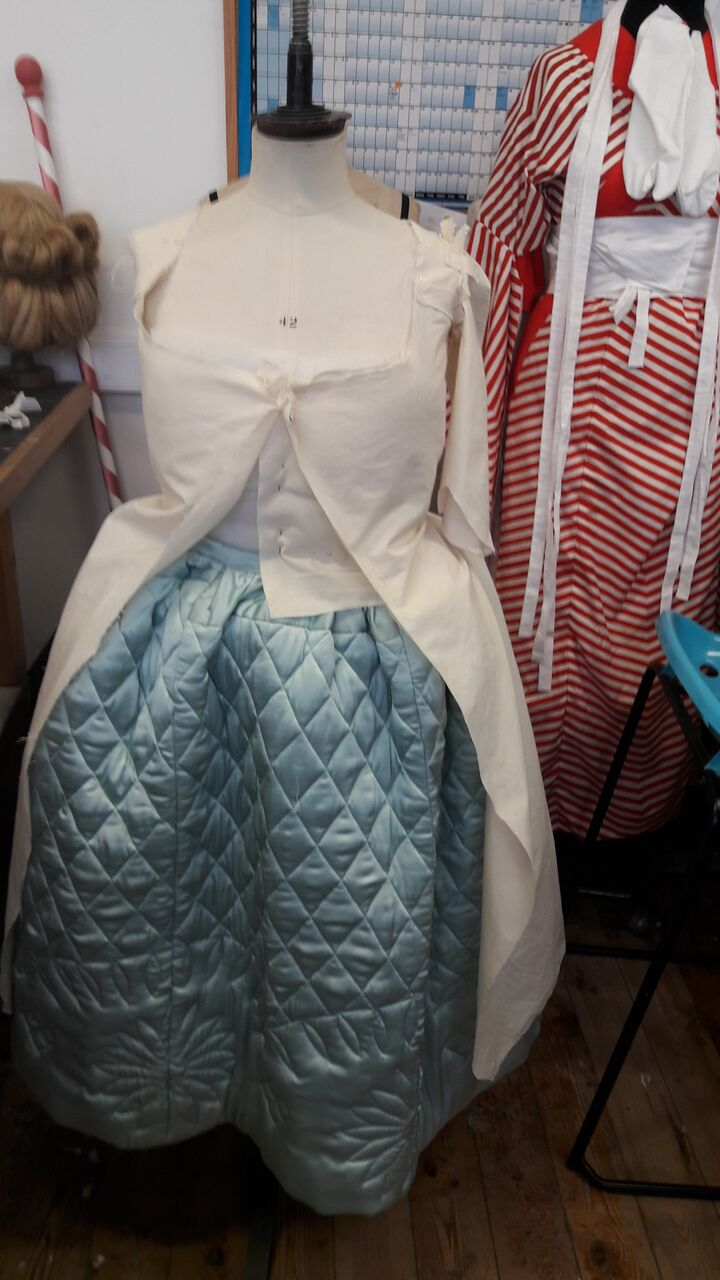
I began by making a quick mock up of the polonaise in order to test how the 'tail' would be formed.

It was decided to add some more fabric to the centre back panel to add fullness to the ‘tail’ as well as adding 4” to the bottom of the hem so that the length would match with the image. A pattern was drafted up to the model's measurements and a toile made up.
 |
| Shoutout to Imogen's kimono in the background! The stripes are hand printed! |
Before the toile was fitted to my model the shoulder strap was extended and the armholes altered so that they would fit better. I apparently did this using the highly professional method of attaching bits of fabric until the shape is right.


The Zone front was also altered, aka a huge chunk off the panel was removed.

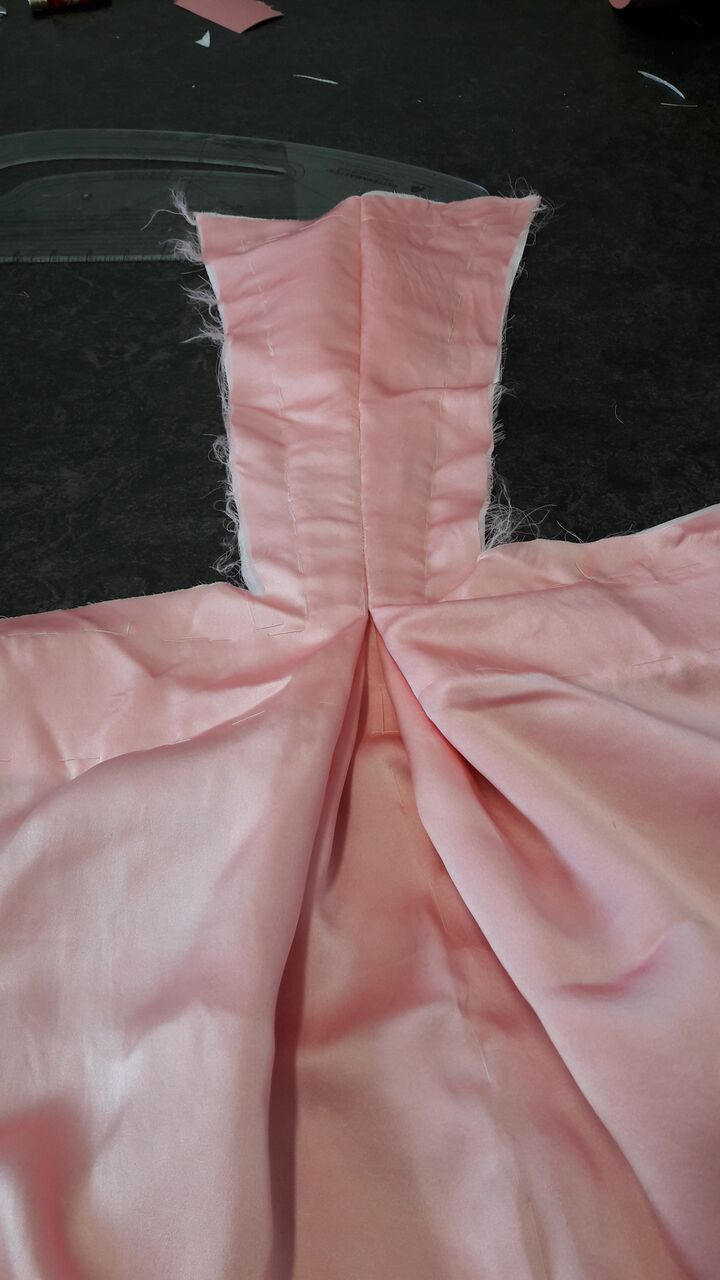
The toile was then fitted to my model. It was decided to widen the sleeve, as well as lengthen the shoulder strap and join that pattern piece to the front panel. The armhole was also altered and the pleats at the back of the gown set at the same level as the centre back seams. The back panels were also made thinner and the neckline altered to cover the shoulder straps of the stays.
 |
| Altering the sleeve and neckline |
While I was making up and altering the toile I was also trying to resolve the fabric problem. The only fabric I could find that would be suitable for the dress in a shade I liked that was also within my budget would have set be back over £500 just for the pink silk. I decided to try dying to achieve the colour and had resigned myself to buying the expensive fabric when I discovered that a small amount of Terracotta dye produced the correct shade. This meant that I could purchase all of the silk for the gown for less than £400.
I ordered 16m of the silk and dyed up 10m.
 |
| Pretty! |
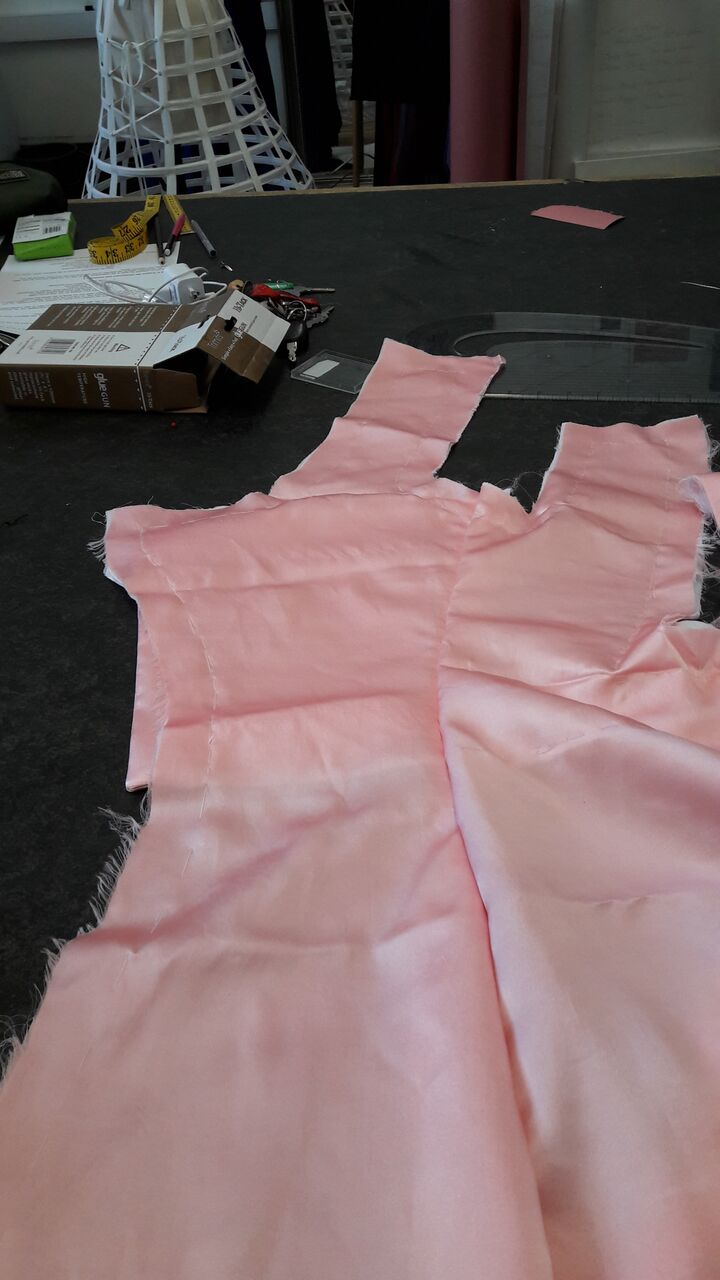
Once the pattern was altered and the silk dyed up I began to cut out the panels. As the silk was quite flimsy my tutor suggested that I should use an interlining of (100% not historically accurate) cotton and iron on interfacing for the bodice in order to help the garments structure. As this interfacing would not be visible it would not affect the historical look of the garment.
 |
| The (cotton) interlining |
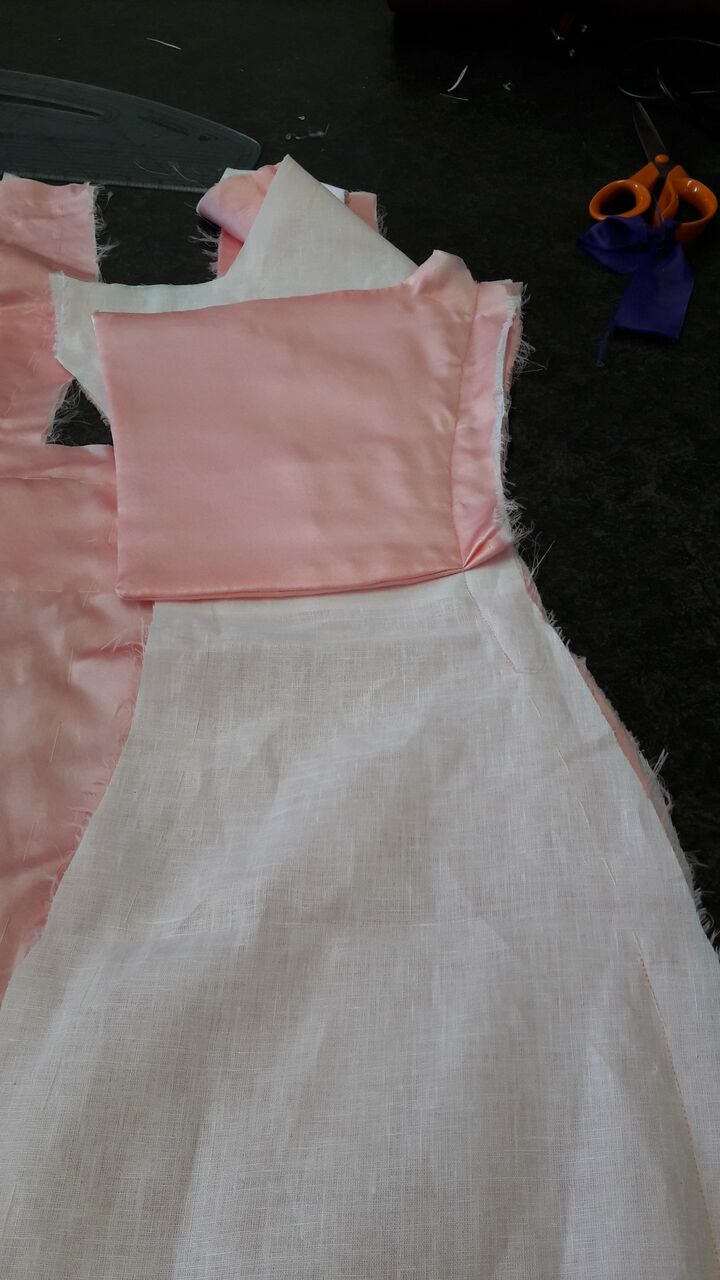
The silk and linen lining fabrics were then cut out.


The back seams of the bodice were supported with 15cm long pieces of spiral steel boning with were inserted into tape channels sewn onto the poly cotton interlining. All the layers were then tacked together.

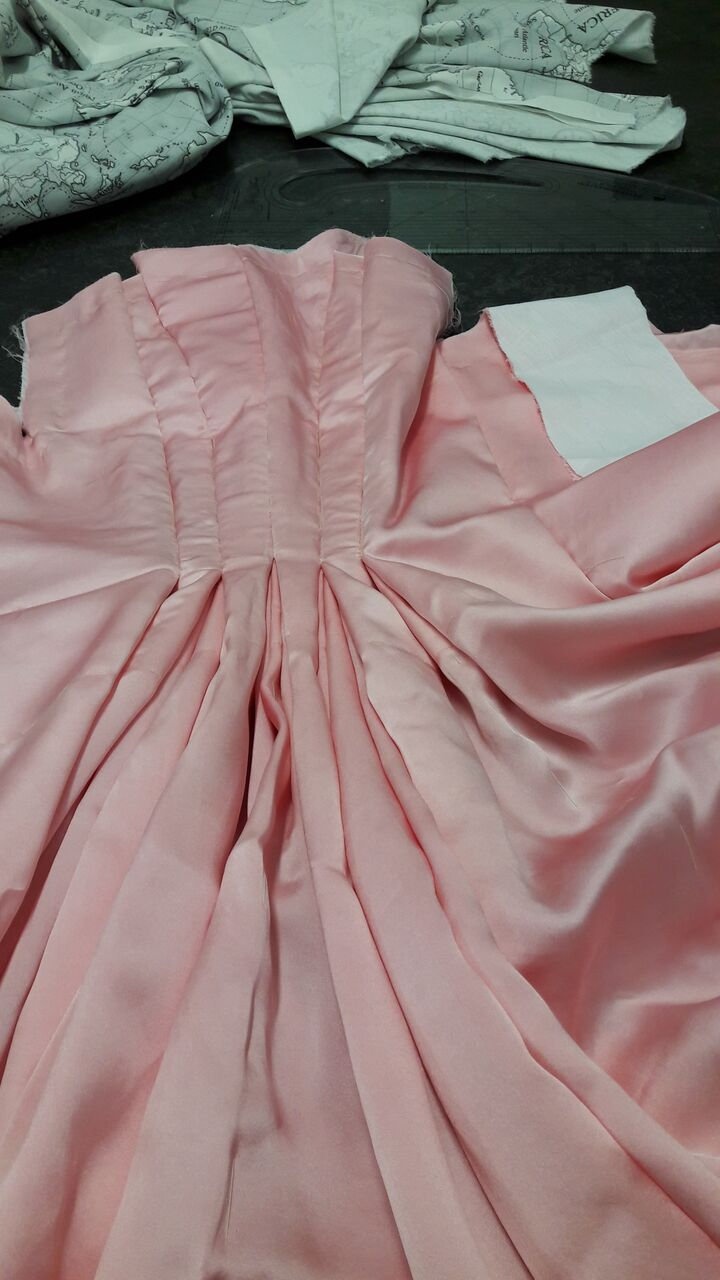
The zone front was made up and the front, side and zone front panels sewn together with a gap being left for the pocket slit.
The bodice back seam were sewn together and the skirt section pleated up and stitched together.
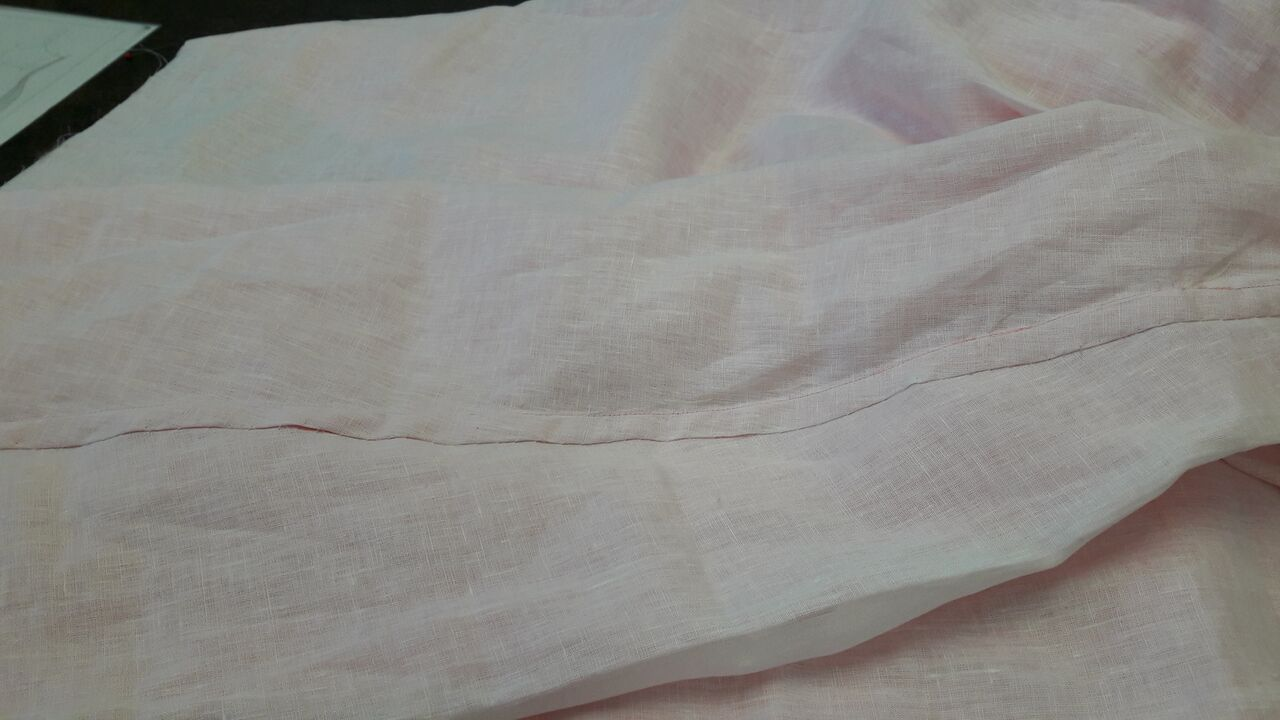
The side seams of the polonaise were fell stitched by hand so the stitching was not visible on the outside of the dress.
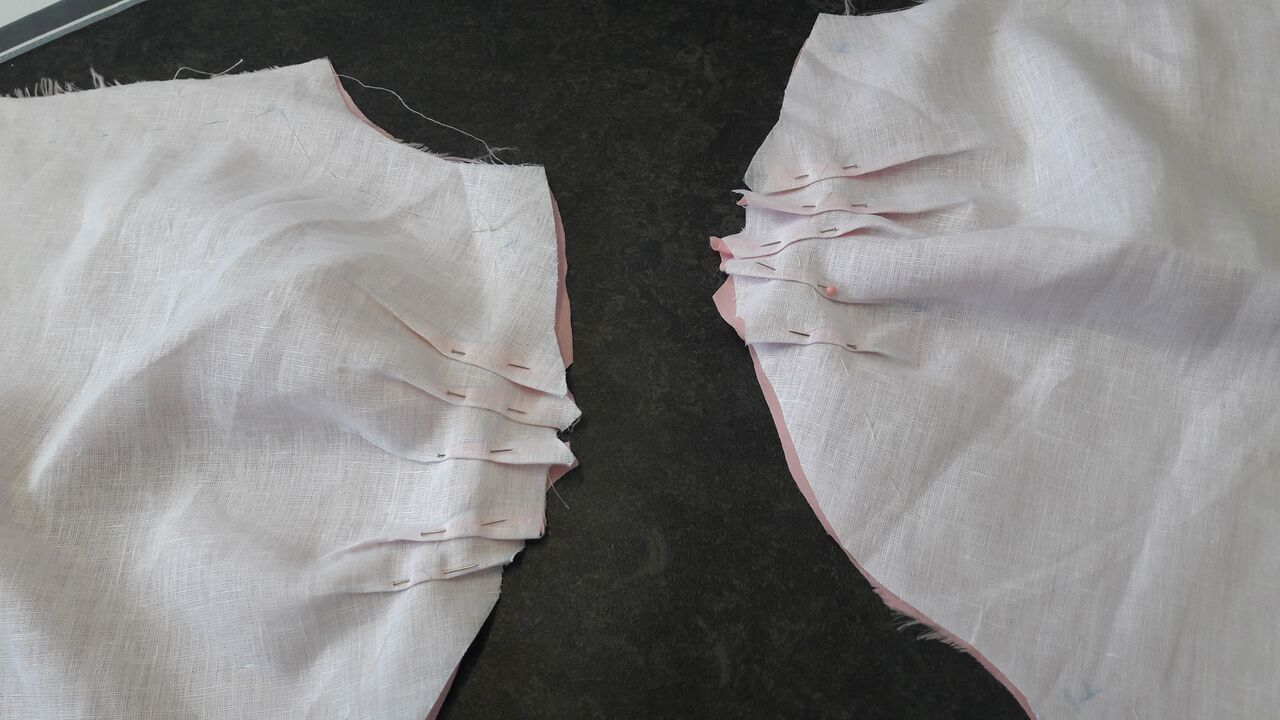
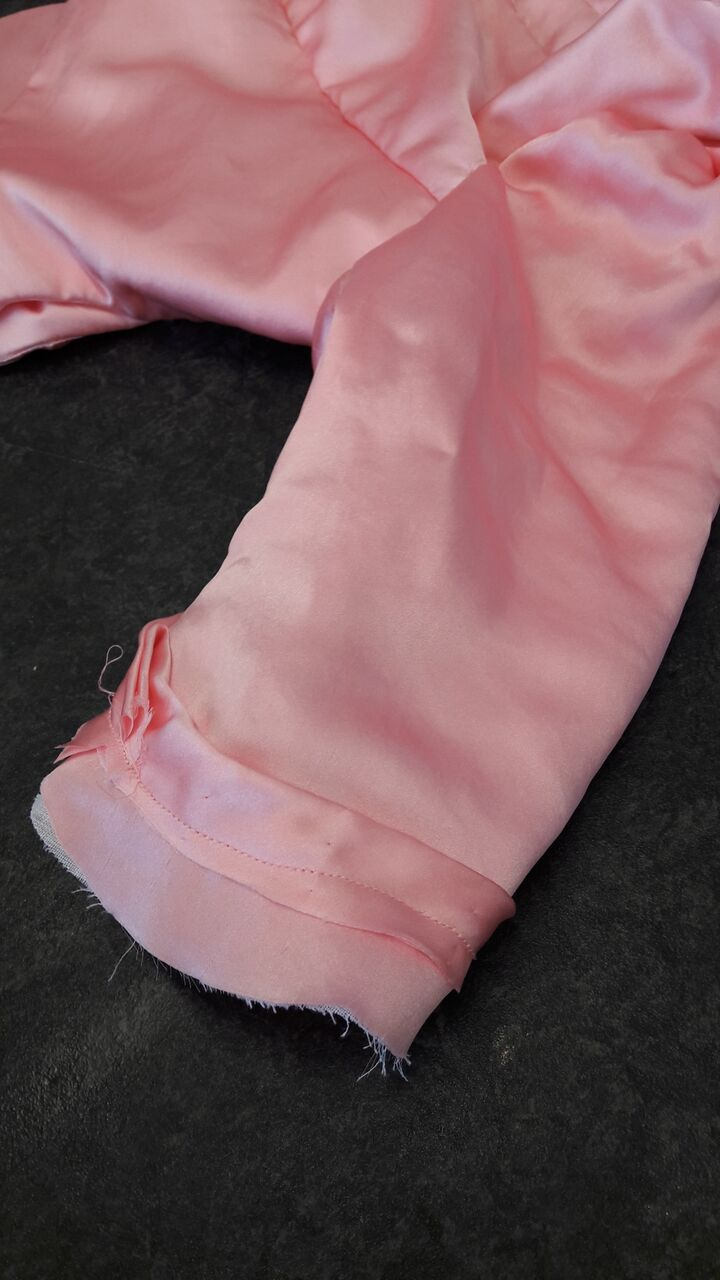
The sleeves were pleated and sewn together. The seams were overlocked as they would not be visible.
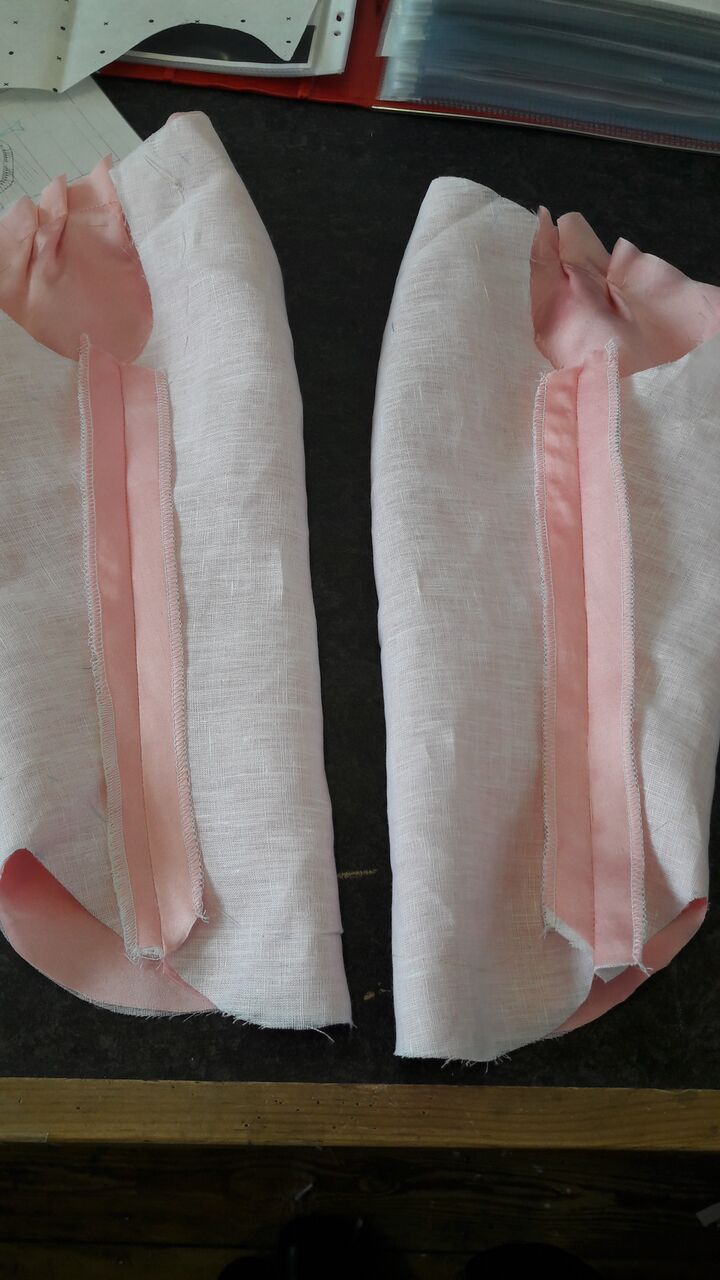
The sleeves were attached with much swearing and difficulty and finished with french binding.

It was then time to move onto the skirt panels! the front and two back panels were seamed together leaving a gap for the pocket slits. The skirt was then pleated up on the stand over the bum pad and petticoat in order to position the waistband correctly. The pleats and waistband position were then marked with tacking stitches.
 |
| Sorry for the messed up aspect ratio, it looks like a giant marshmallow! |
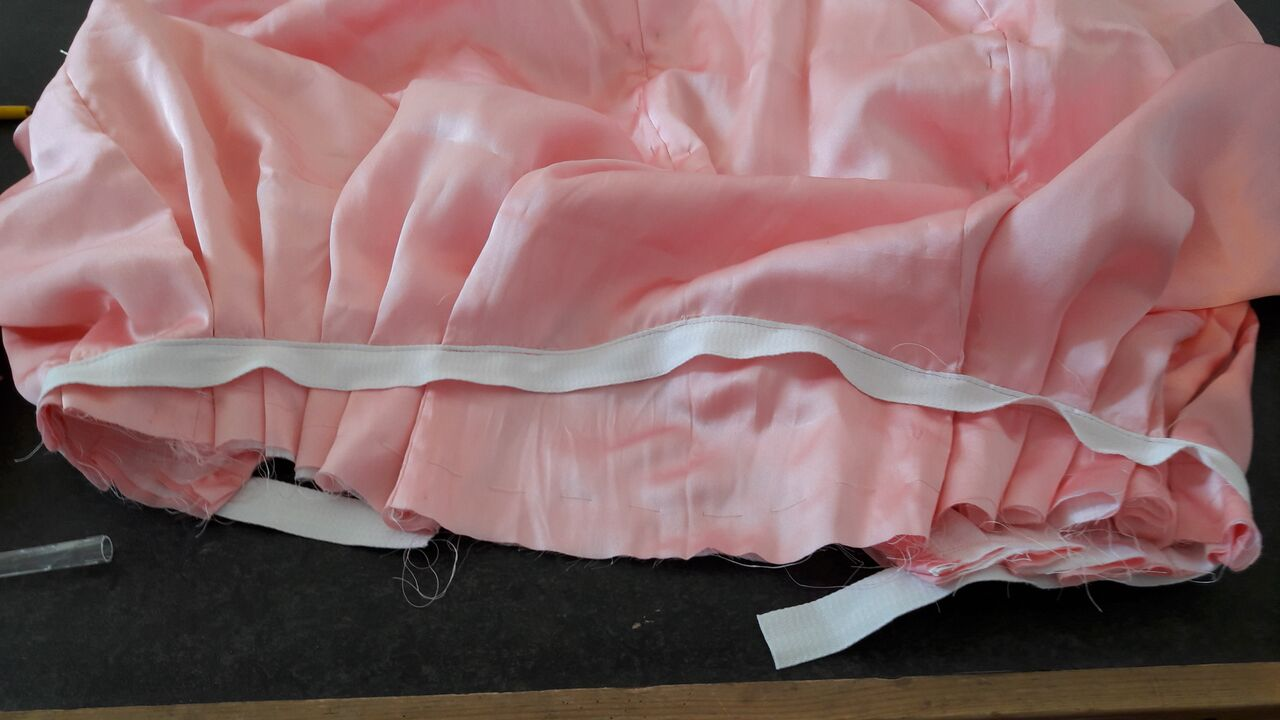 |
| Cotton tape attached to waistband |
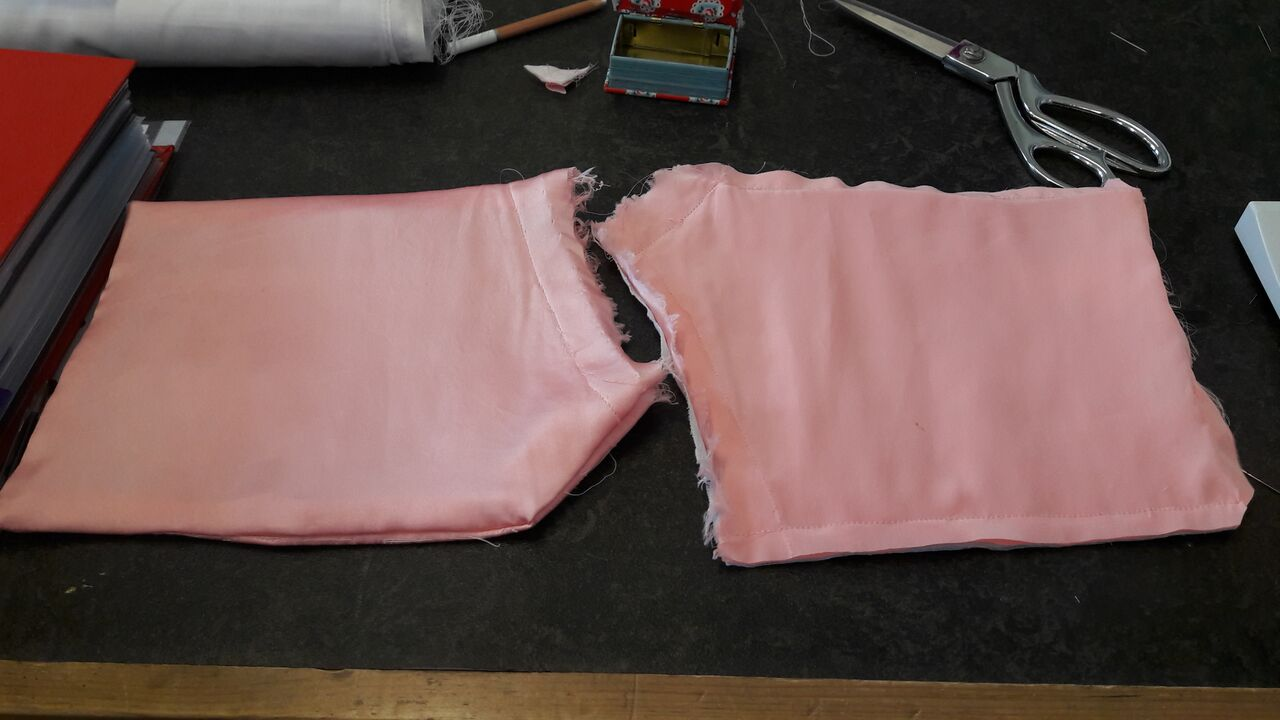
At this point the dress was fitted to the model. It was found that the CF panels did not quite match together. That was fun.
 |
| arghhhhh |
To alter the CF the panel was removed from the side seam and stitched down 1 ½ inches more towards the CF. The shape of the panel was also altered making it shorter so the gown would fit over the model’s hips.
 |
| Altering the zone front |
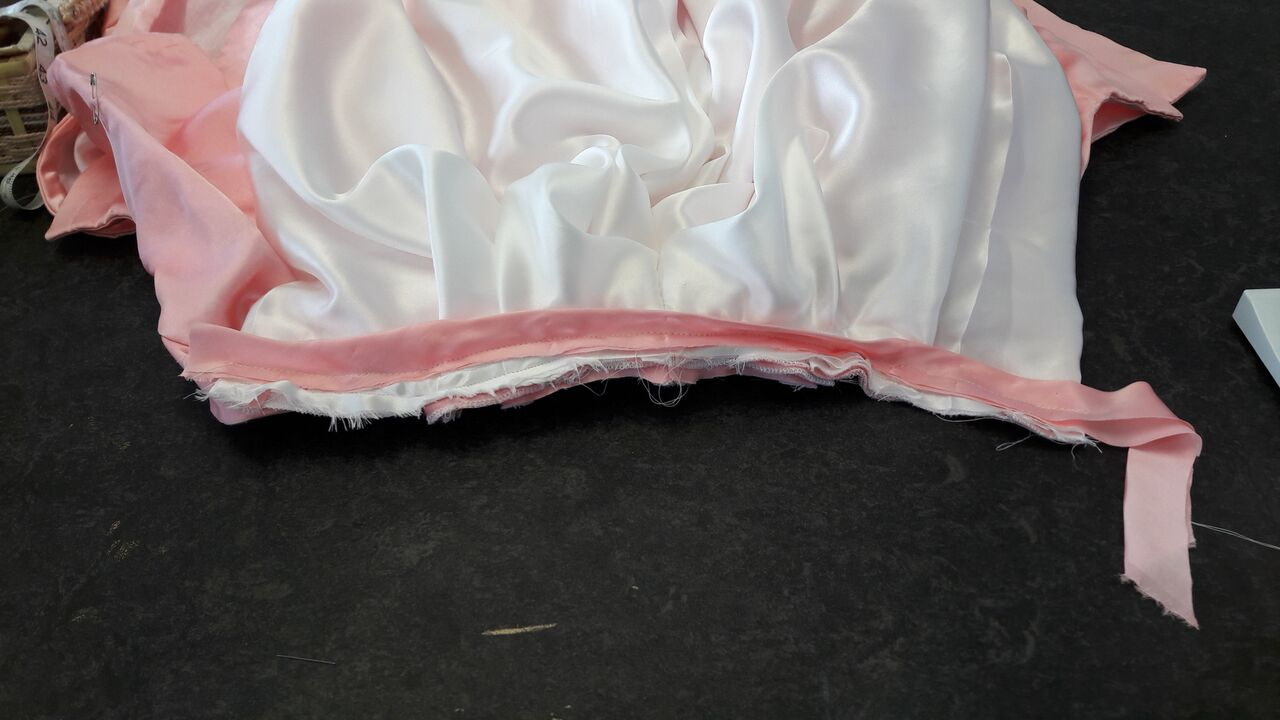
Twill tape was attached to either side of the cf panels and stitched around the inside of the dress. This helped to hold the panels in place as well as cover the raw edges of the pleating.

Having got over that hurdle, and with about two weeks before the deadline for the entire course, an entire costume still to make and generally just wanting to curl up in a ball and cry I remembered that the hood existed.
 |
| This is the only photo I have of the hood construction. That is all. |
I used some of the taffeta from the hat to make up the bows at the back and front of the gown.
 |
| At this point my photo-taking was very few and far between |
Box pleats were created to edge the polonaise around the skirt, the cf. the hood, neckline and around the hood-neckline seam. These were hand stitched together and to the dress for visual effect.
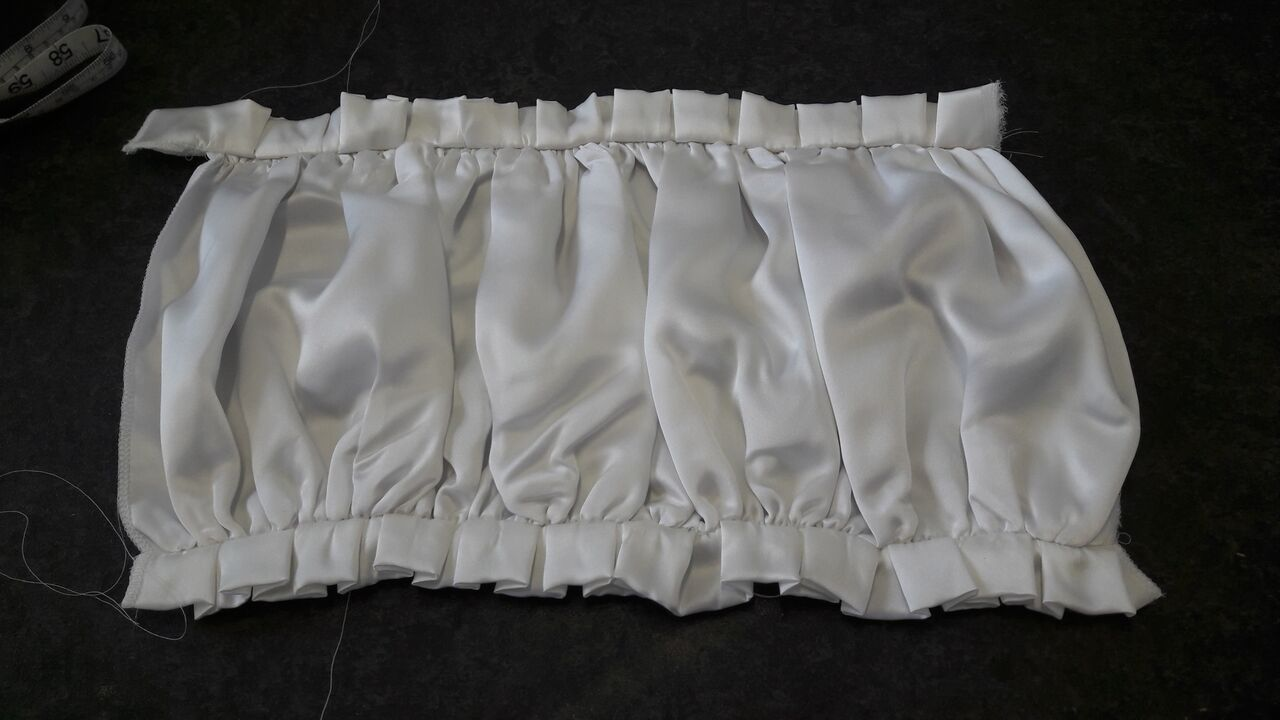
The sleeve covers were created by gathering up some cotton backed silk and edging them with silk box pleats. They are definitely not that great looking and I was to go back and change one part of the dress they would be it.
 |
| The pleating was all done during 48 hours with no sleep It's sooo pretty! |
 |
| Also done during 48 hours with no sleep, not so pretty but will do |
A large strip of silk was bagged out with cotton and gathered. This was then gathered and attached to the skirt. This was all done about 30 minutes before hand in so I don't have any photos of the process but the dress was complete!

The final part for this project is the Finale, pictures of my classes end of year show and exhibition. hopefully shouldn't be as long a wait for that one.


No comments:
Post a Comment